


 |
 |
 |
 |
 |
 |
 |
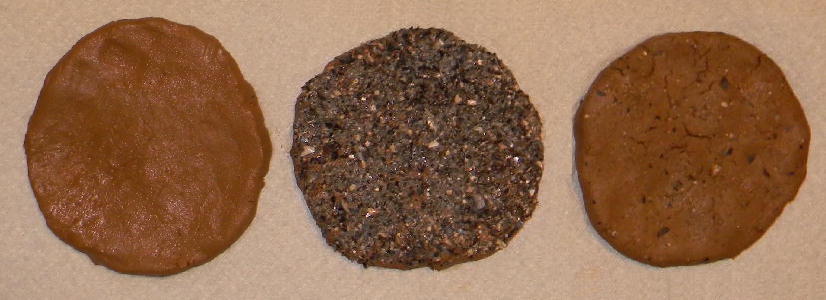 |
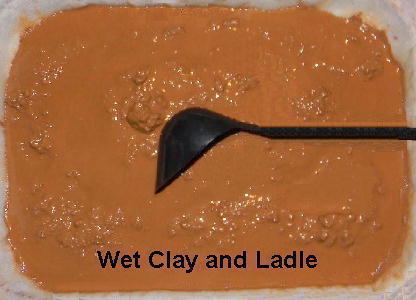
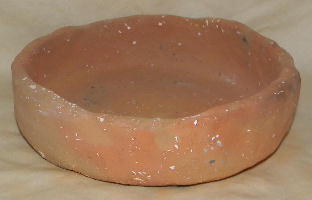
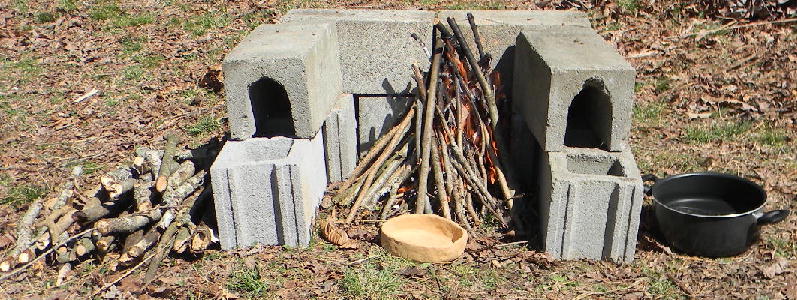
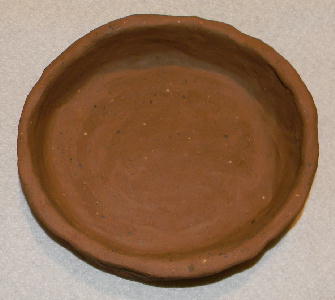 How to Make a Small Primitive Clay Bowl: To make a small bowl push your thumb into the center of a round ball of clay and then use your fingers to gradually enlarge the center depression. Continue to enlarge the hole so that the ball is transformed into the shape of a small bowl. Use your fingers to gently pull and pinch the sides of the bowl outwards and upwards. The sides and bottom of the bowl should be approximately one-quarter inch (0.6 cm) thick or a little thicker. This is thicker than a bowl you would buy at a store but this thickness is required for a primitive clay bowl. The thinner you can safely make the sides and bottom of the bowl the lower the chance the bowl will crack when it is fired. However, the bowl must retain its shape while drying in the air so the sides of the bowl cannot be too thin.
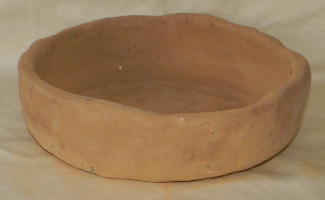 |
 |
 |
 |
 |