


 This article discusses the following topics. If you wish you may click on any underlined topic below to jump directly to that topic. To return to the following list of topics, simply click the [BACK] button at the top of your Internet browser window. Or you may read this entire article from beginning to end.
 |
 |
 |
| 10" no Front Assist | 10" with Front Assist | 6-Quart Dutch Oven with Lid |
 |
 |
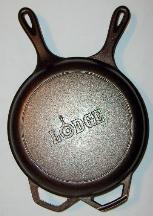 |
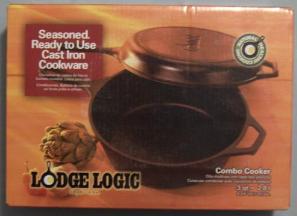
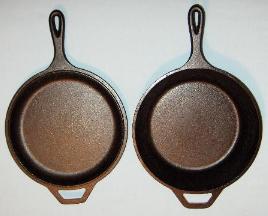
| Picture of Combo Cooker Box | Combo Cooker Skillets Side by Side | Skillets Nested Together |
|
|
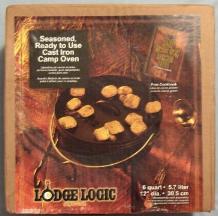
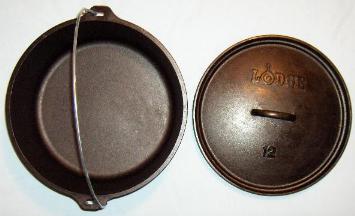
| Picture of 6-Qt. Dutch Oven Box | 6-Qt. Dutch Oven with Lid |
 |
 |
 |
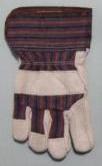
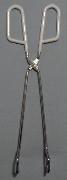
| Gloves | Metal Tongs | Stainless Steel Insert |
 |
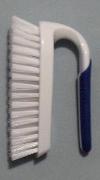 |
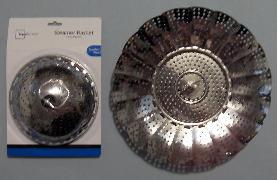
| Steamer: Folded and Unfolded | Brush |
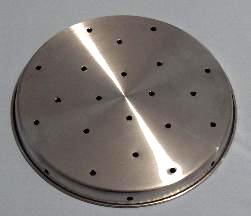

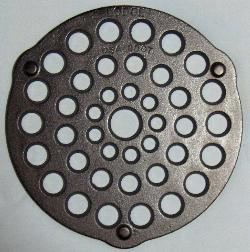 To bake bread in a Dutch oven, place a small cooking grate, called a trivet, on the bottom of the oven. Then put the bread loaf pan on top of the trivet inside the oven so the bread loaf pan does not rest directly on the cast iron bottom of the Dutch oven. The same procedure should be used for pizzas, cookies, pretzels, crackers, cakes, biscuits, rolls, and any other flour based recipe you wish to bake. A nine-inch diameter non-stick cake pan works exceptionally well with a round loaf of bread. (Note: The picture of the cast iron trivet on the right shows the bottom side of the trivet so you can see the three short legs that keep the trivet supported just a little above the bottom of the cast iron cook pot.)
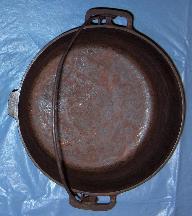
After eating your meal carefully check the pot and verify that it has cooled down enough to be handled with your bare hands. Wash the pot with warm or hot water, and some dish soap. You may use a dish cloth or a soft plastic bristle brush, such as the type you would use to clean your fingernails. If you use a soft brush then apply the same amount of pressure you would use if you were scrubbing your fingernails. Do not use a wire bristle brush or a steel wool pad because they will scrape some of the protective coating off your cookware.
To bake bread in a Dutch oven, place a small cooking grate, called a trivet, on the bottom of the oven. Then put the bread loaf pan on top of the trivet inside the oven so the bread loaf pan does not rest directly on the cast iron bottom of the Dutch oven. The same procedure should be used for pizzas, cookies, pretzels, crackers, cakes, biscuits, rolls, and any other flour based recipe you wish to bake. A nine-inch diameter non-stick cake pan works exceptionally well with a round loaf of bread. (Note: The picture of the cast iron trivet on the right shows the bottom side of the trivet so you can see the three short legs that keep the trivet supported just a little above the bottom of the cast iron cook pot.)
After eating your meal carefully check the pot and verify that it has cooled down enough to be handled with your bare hands. Wash the pot with warm or hot water, and some dish soap. You may use a dish cloth or a soft plastic bristle brush, such as the type you would use to clean your fingernails. If you use a soft brush then apply the same amount of pressure you would use if you were scrubbing your fingernails. Do not use a wire bristle brush or a steel wool pad because they will scrape some of the protective coating off your cookware.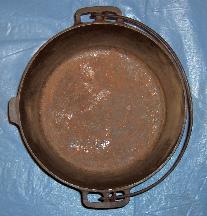 |
 |
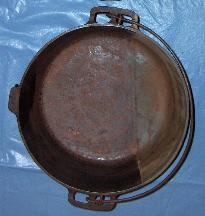 |
| Original Rusty Oven | Cleaned With Steel Wool | Right Side Soaked in Vinegar Solution |